Open Upload Pages to find your workspace’s requests. Check the workspace selector first if a page is missing; pages belong to their workspace.
Start from a template
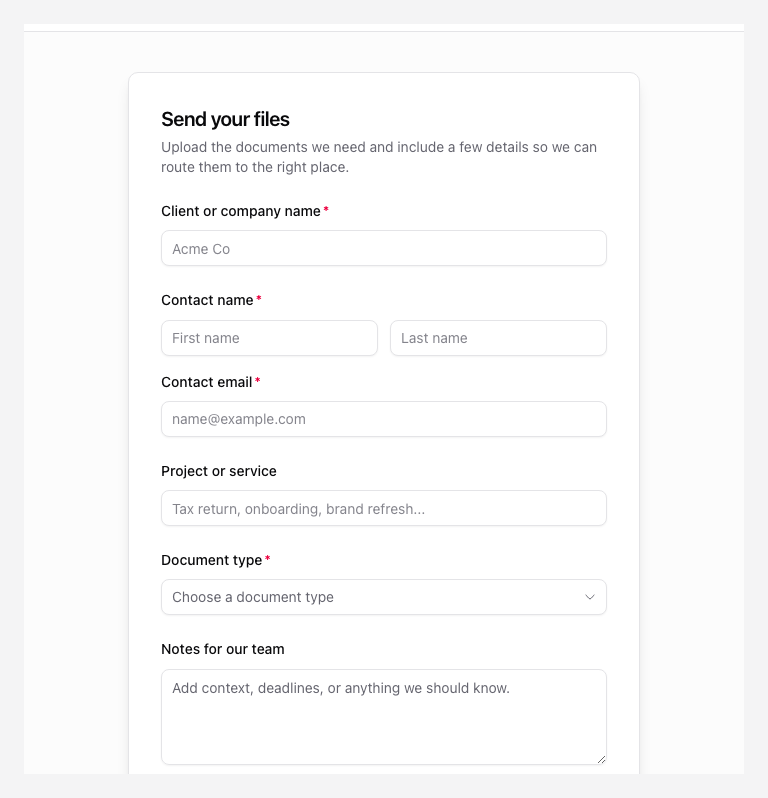
Choose New upload page and select a template that fits the request. Review its questions, file fields, and instructions. Set your own destinations and check access and automation settings before enabling it. Template examples do not prove that your storage or automation is configured.
Use Create an upload page for the full setup flow.
Find and reuse a page
Search or use the available filters in Upload Pages. Open the editor to inspect the public title and internal name. Use the internal name for your team’s reference; the public title addresses the uploader.
To reuse a saved structure, open More upload page actions > Duplicate. Save or discard local changes first. Check the new page’s link and settings before sharing; a copy has its own identity. Existing submission history remains associated with the original page.
Organize with tags
Use Add tags beside the internal name in the editor to label a request for your team. Use the list’s available tag filters to find related requests. Tags organize pages; they do not grant access to another workspace.
Find archived pages
Choose View archived. Open a page and use Unarchive upload page if you need it again. Check its destination, plan compatibility, expiry, and availability after restoring it.
Archiving closes collection and removes a page from the usual active view. It is different from disabling a page for a short edit. See Save, enable, disable, and archive pages.
If a teammate cannot find it
Confirm the workspace, invitation status, and role. Share a public link with uploaders and an editor link with workspace members. A public link does not grant access to workspace settings.