On Agency, an owner or admin can configure a sender domain under Settings > Advanced. This changes the sender setup for supported outgoing emails. Configure the recipients on each upload page as a separate step.
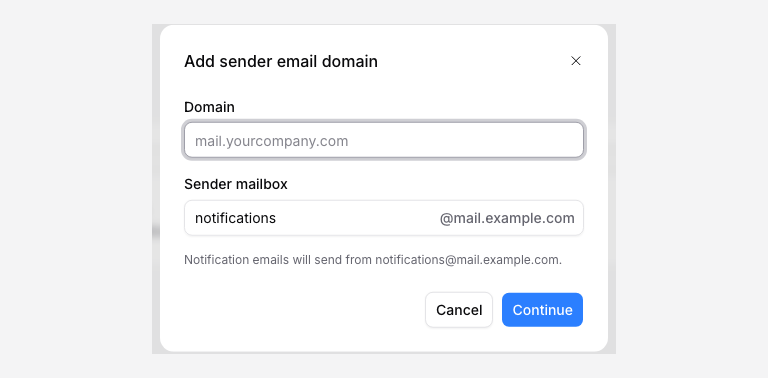
Verify your domain
- Click Add sender domain in Advanced settings.
- Enter a domain you control and the mailbox name requested by the app.
- Add the exact DNS records shown by PigeonFiles at your DNS provider.
- Use Recheck DNS after the records have propagated.
- Once verified, review the mailbox and use Send test email to check an address you control.
Copy the record values from your workspace. Do not replace your existing inbound mail settings unless your domain administrator has checked the consequences. A verified sender domain does not create an email inbox.
Change or remove the sender
Use the sender settings to change the mailbox. Check the displayed status and send another test after a change. Removing the sender domain returns supported email to the default sender; it does not remove notification recipients.
Diagnose a missing email
Check sender verification, the page’s team notification recipients, and the recipient’s spam folder. A successful sender test proves that test email’s delivery, not the result of a particular submission.
Uploader confirmations and custom subject/message templates are visible in the editor but are not connected to the current submission email delivery process. A verified sender domain does not enable those features.