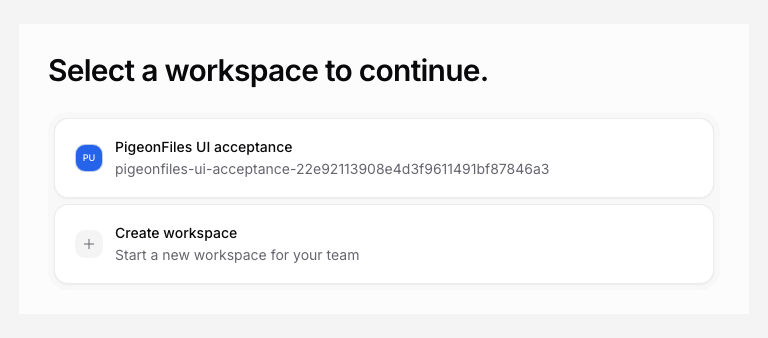
A workspace keeps its own upload pages, storage connections, submissions, members, and billing. Select the workspace you intend to use before changing settings or creating a request.
Finish first-time setup
Enter your name, choose a workspace name, and choose a brand accent color. Your workspace name identifies it inside the app; it is separate from a public upload-page title or public brand name.
The setup questions help describe your intended file request. Skip an optional question if it does not fit. At the storage step, connect an account or choose Set up later. You can finish the connection in Settings > Destinations.
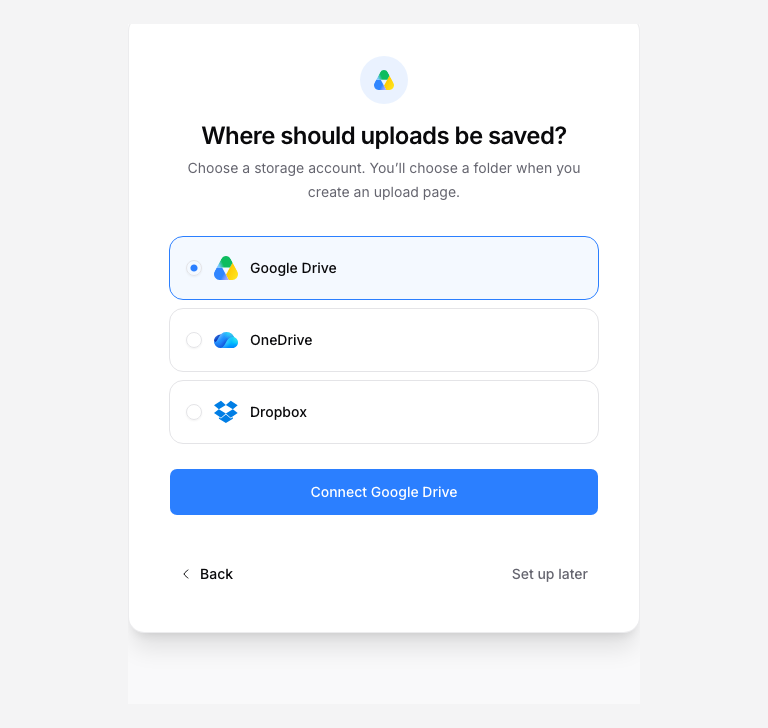
Click Create first upload page to start the editor. Connecting storage during setup does not select a folder for every page. Choose a destination folder on the file field.
Switch workspaces
Use the workspace selector in the app header. If you have several memberships, choose the intended workspace on the selection screen. Pages, submissions, and settings then come from that workspace.
If you cannot find a page or connection, check the workspace before recreating it. A teammate’s invitation may also be pending; accepting it gives access to the invited workspace.
Create another workspace
Use the create-workspace action from the workspace selector. Name it, choose its brand accent, then connect storage or skip that step. Each workspace has its own plan and credit balance. Upgrading one workspace does not upgrade the others.
The monthly Free credit allowance applies to the first eligible Free workspace you create. Additional Free workspaces do not receive that allowance. See AI credits.
Setup or selection fails
Keep your current choices while using Try again if the app offers it. For a cancelled storage authorization, reopen the provider flow or finish setup without storage and connect it later.
If a workspace remains inaccessible, confirm which account owns the invitation and ask its owner whether your membership is active. Contact support if the correct account still cannot enter it.
Change workspace details
Owners and admins can open Settings > Workspace and use Edit beside the workspace name or timezone. Check that you selected the intended workspace before saving. Shared brand settings live on the same page; changing them affects pages that use the workspace brand.