Create a Zap that turns a submission into a record, task, or message in another service. Start in Zapier; PigeonFiles lists the connected subscription after setup.
What the Zapier connection does
When someone submits files through a PigeonFiles upload page, the submission event can trigger a Zap in Zapier. The Zap receives the submission data, uploader details, field answers, file metadata, and destination information, and passes it to whatever action steps you configure.
This lets non-technical teams connect file intake to downstream tools through Zapier without writing code. Common examples include logging uploads in a project tracker, sending a notification to a team channel through Zapier, or creating a record in a CRM through Zapier.
Pro or Agency is required. You also need access to the integration in the automation service. If PigeonFiles does not appear in that service’s app list, contact support for its current availability before building the workflow.
Steps
-
Start in Zapier. Log in to your Zapier account and create a new Zap.
-
Choose PigeonFiles as the trigger app. Search for PigeonFiles in the trigger app list.
-
Select the trigger event. Choose the submission event type you want to trigger on.
-
Connect your PigeonFiles account. Zapier opens a PigeonFiles authorization flow. Sign in and authorize Zapier to access your workspace.
-
Choose the upload page. Select which upload page this Zap should listen to. Each Zap subscribes to one upload page.
-
Test the trigger. Zapier pulls a sample event from PigeonFiles so you can see the available data fields. If no sample is available, submit a test upload through the upload page first.
-
Add action steps. Configure the action apps and field mappings for your Zap. You can map uploader name, email, field answers, file names, file links, and other submission data into the action step's fields.
-
Turn on the Zap. Publish the Zap so it runs on every new submission for that upload page.
What data is available
The PigeonFiles trigger provides submission data you can map into Zap action steps:
- Uploader name and email (if collected on the upload page).
- Field answers from the upload page's metadata fields.
- File names, sizes, types, and destination details.
- Submission timestamp and upload page context.
- AI extraction values (if AI processing is configured on the upload page).
Viewing connected Zaps in PigeonFiles
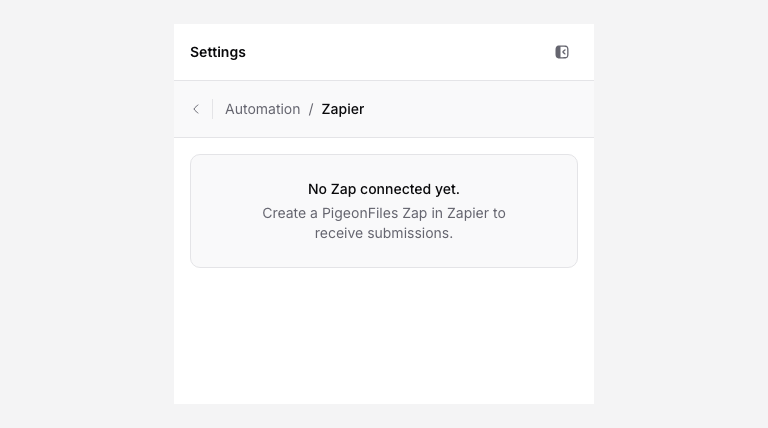
After creating a Zap, the subscription appears in the PigeonFiles upload page editor under Automation > Zapier. Connected Zaps show as read-only entries with their status (Enabled or Disabled) and subscribed events. You manage the Zap itself from Zapier, not from PigeonFiles.
Troubleshooting
Zap not triggering. Check that the Zap is turned on in Zapier and that the PigeonFiles authorization is still valid. Submit a test upload through the upload page and check the Zap's task history in Zapier.
Missing fields in the action step. If you added new fields to the upload page after creating the Zap, update the trigger's sample data in Zapier so the new fields appear in the field mapper.
Authorization expired. Reconnect PigeonFiles in Zapier's connected accounts settings. The Zap will resume receiving events after reauthorization.
Duplicate events. If your Zap runs twice for the same submission, check whether you have multiple Zaps listening to the same upload page.
Next steps
- Connect Make, an alternative no-code automation platform.
- Automations and integrations.
- Send submissions to Google Sheets, log submissions as spreadsheet rows without Zapier.
Frequently asked questions
Does PigeonFiles send the actual uploaded files to Zapier?
No. PigeonFiles sends submission metadata, uploader details, field answers, file names, file sizes, destination paths, and file links. Use the file links to access files from your connected storage.
Can I trigger Zaps from specific upload pages only?
Yes. When you set up the PigeonFiles trigger in Zapier, you select which upload page the Zap subscribes to. Each Zap subscribes to one upload page.
Where can I see connected Zaps?
In the PigeonFiles upload page editor, open the Automation section. Connected Zapier subscriptions appear as read-only entries showing their status and subscribed events.